On Device RAG system in IOS(SwiftUI) using Gemma 2B for LLM Processing
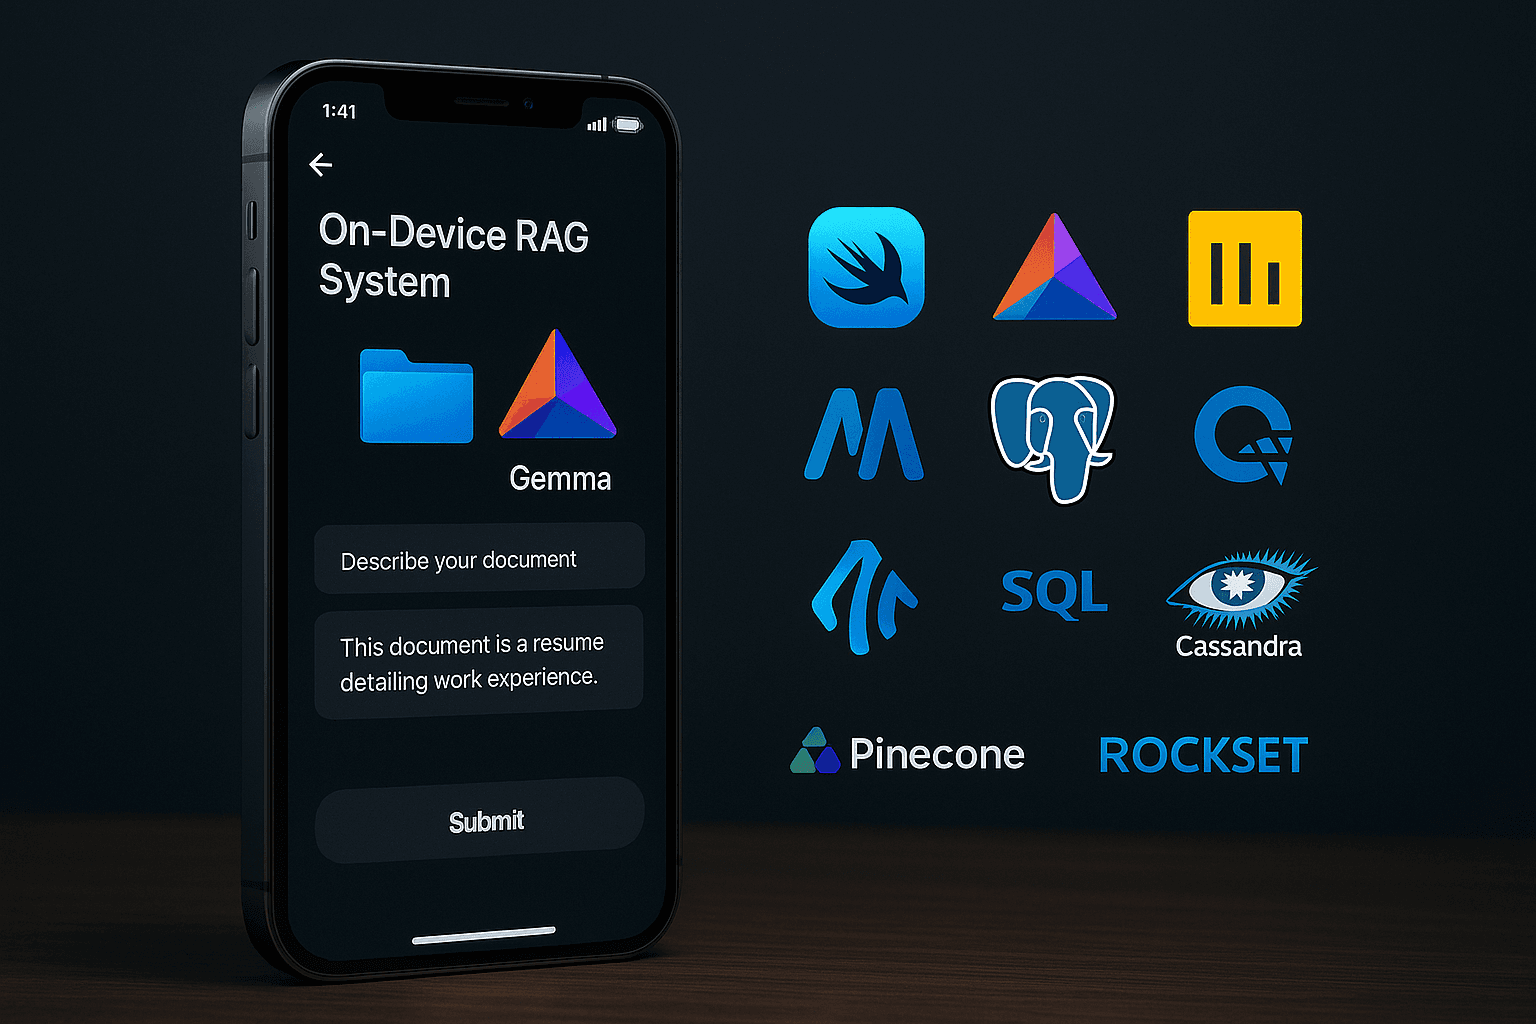
App for Interacting with private files
Introduction
In today’s era of AI , LLM’s are becoming incredibly popular , let us see how can we setup an LLM on our IOS device using swiftUI .
Today lets build a simple RAG (Retrieval Augumented Generation) System , where we can privately chat with our documents . We are going to cover how can we setup Gemma 2b on IOS using swiftUI and utilise it on a chat interface .
Downloading Gemma 2b model
Step 1 : Downloading Gemma 2b model
We would be utilising gemma 2b as our LLM model , we would be utilising mediapipe framework to do this .
First let’s download the model on to our system . Model download Link
Go to the above link and select LiteRT section as shown in the image below
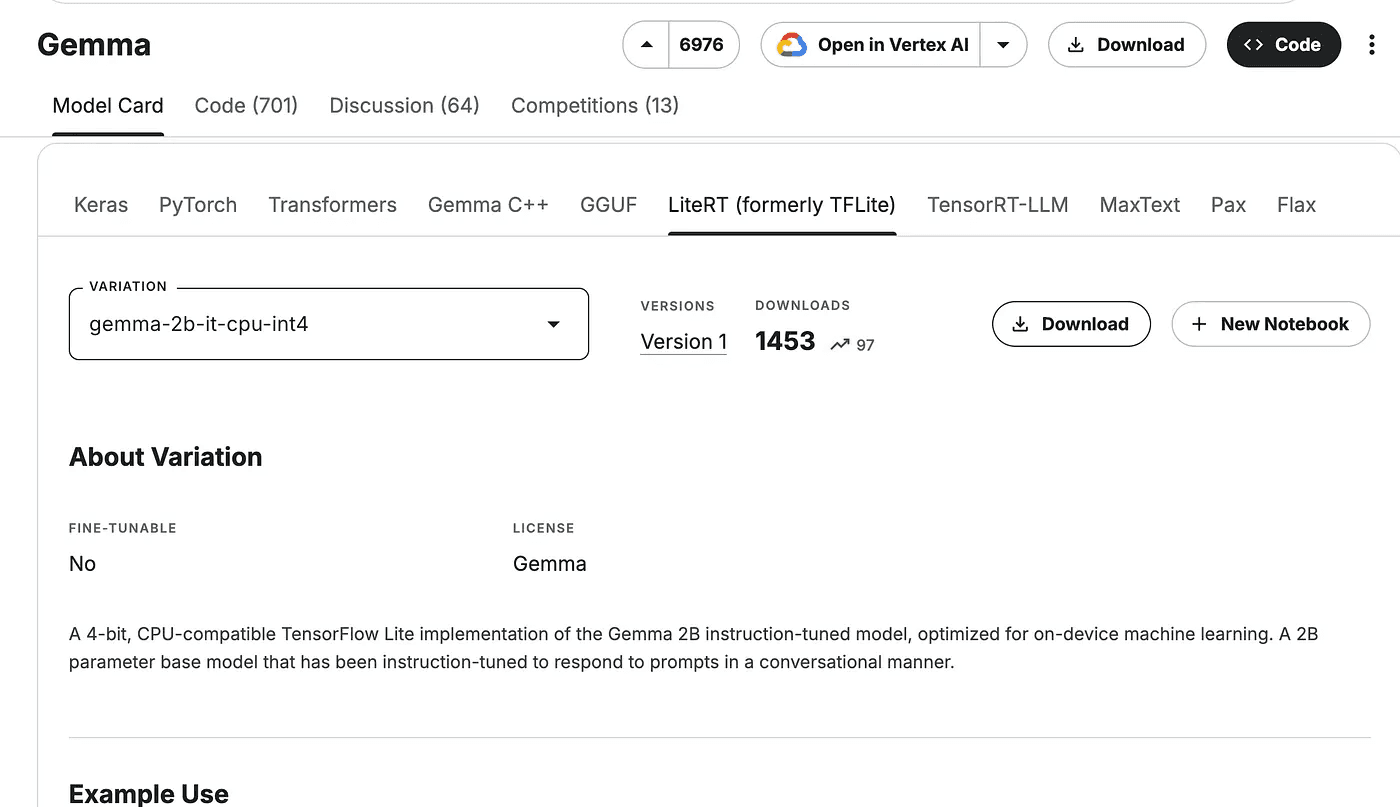
Now select gemma - 2b-it-cpu-int , click on download . You may be required to get access to the model , if you don’t have access once you click on download you would be directed fo this process.
Step 2 : Create a Project in Xcode You need to have Xcode on your system , and you need to create a IOS project . If you are not familiar with Xcode or setting up projects , you can refer to this video and get started with it.
Step 3 : Add Model files to the Project
Open your Xcode IOS project and directly drag and drop your file under the folder name of your project , once you do that you will receive this dialog box
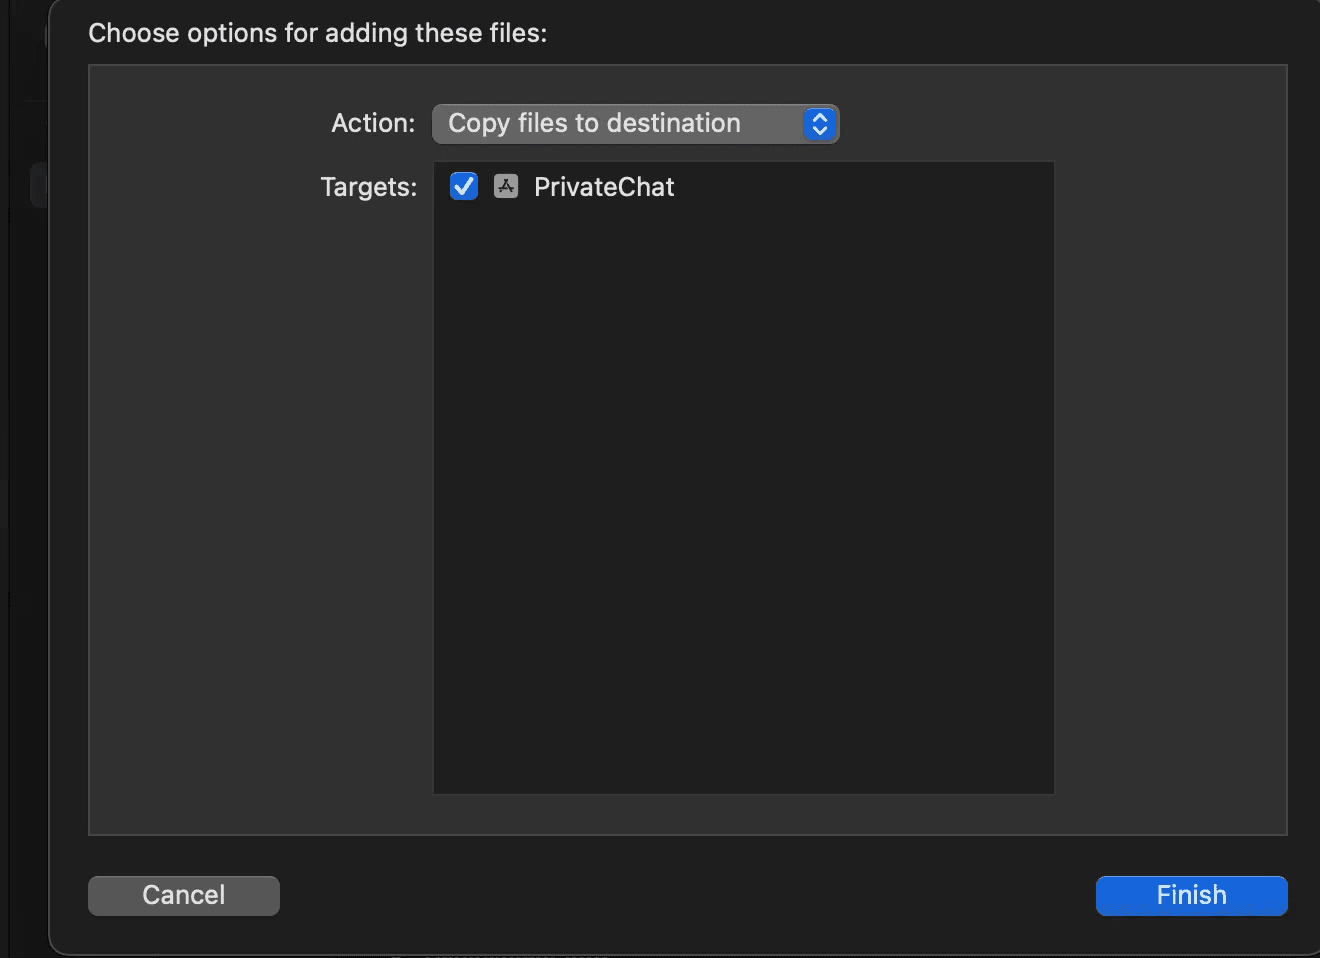
Check all the boxes and click on finish to add the file .
Let’s move the next step to create a simple chat screen .
Step 4 : Install required libraries You will have to install the mediapipe libraries to utilise the mediapipe functionality .
You will have to install cocoapods .
sudo gem install cocoapods
Once the above command is executed you will have to execute
pod init
This will create a podfile , now you have to edit the podfile and paste these libraries in your podfile
To open the podfile in your terminal type
nano Podfile
Paste these libraries
  pod 'MediaPipeTasksGenAI'
  pod 'MediaPipeTasksGenAIC'
Now execute the last command that is
pod install
This will install all the libraries .
Now go to your folder in the finder where you have created the project , you will find a file named project_name.xcworkspace , double click on that file and now you can utilise the libraries as well.
Step 5: Develop a chat interface We will utilise swiftUI to develop a chat interface that will enable us to interact with the LLM .
If you are not familiar with SwiftUI , I will suggest to go through basics of SwiftUI , and then follow along because if you want to tweak this code and develop on it . You can even just paste the below code as it is , although if you are in a newer version of Xcode , then you may have to resolve some of the errors , IOS version I have developed this for is 17.2 .
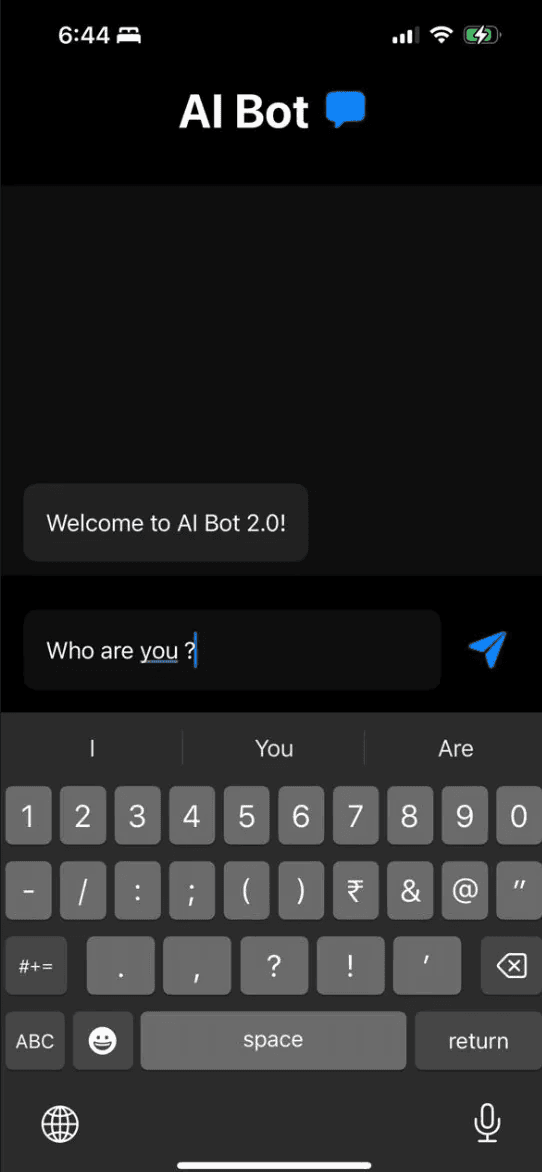
I have created this screen in the contentView itself .
//
//  ContentView.swift
//  gemma-mediapipe

import SwiftUI
import MediaPipeTasksGenAI
struct ContentView: View {
    @State private var messageText = ""
    @State var messages: [String] = ["Welcome to AI Bot 2.0!"]
    @State private var init_model: LlmInference?
    func initialise_llm() {
        if init_model == nil {
            init_model = initialise_llm()

        }
    }

    var body: some View {
        VStack {
            HStack {
                Text("AIBot")
                    .font(.largeTitle)
                    .bold()

                Image(systemName: "bubble.left.fill")
                    .font(.system(size: 26))
                    .foregroundColor(Color.blue)

            }

            ScrollView {
                ForEach(messages, id: \.self) { message in
                    if message.contains("[USER]") {
                        let newMessage = message.replacingOccurrences(of: "[USER]", with: "")

                        // User message styles
                        HStack {
                            Spacer()
                            Text(newMessage)
                                .padding()
                                .foregroundColor(Color.white)
                                .background(Color.blue.opacity(0.8))
                                .cornerRadius(10)
                                .padding(.horizontal, 16)
                                .padding(.bottom, 10)
                        }
                    } else {

                        // Bot message styles
                        HStack {
                            Text(message)
                                .padding()
                                .background(Color.gray.opacity(0.15))
                                .cornerRadius(10)
                                .padding(.horizontal, 16)
                                .padding(.bottom, 10)
                            Spacer()
                        }
                    }

                }.rotationEffect(.degrees(180))
            }
            .rotationEffect(.degrees(180))
            .background(Color.gray.opacity(0.1))


            // Contains the Message bar
            HStack {
                TextField("Type something", text: $messageText)
                    .padding()
                    .background(Color.gray.opacity(0.1))
                    .cornerRadius(10)
                    .onSubmit {

                        sendMessage(message: messageText)

                    }

                Button {
                    sendMessage(message: messageText)

                } label: {
                    Image(systemName: "paperplane.fill")
                }
                .font(.system(size: 26))
                .padding(.horizontal, 10)
            }
            .padding()
            .onAppear{
                initialise_llm()
            }
        }
    }


    func sendMessage(message: String) {

        withAnimation {
            messages.append("[USER]" + message)
            self.messageText = ""
            DispatchQueue.main.asyncAfter(deadline: .now() + 1) {
                withAnimation {

                    messages.append(botResponse(prompt: message) ?? "Nothing")
                }
            }
        }
    }
    func botResponse(prompt:String)->String?{
        var response :String? = ""
        var user_input = prompt
        do{
            response = try init_model?.generateResponse(inputText: user_input)
        }
        catch{
            print("Error while generating response!!")
        }
        return response
    }


}


#Preview {
    ContentView()
}
So the above creates a Chat screen. In the initialise_llm() function the LLM is loaded as the LLM is loaded as the app is lauched , where I have written a function to load the LLM file that we have downloaded into the memory .
Step 6: Writing the functions to load the model On your key board in mac press command + N , you would be prompted to create a new file . As shown in the images below and select Swift File .
Once you have created the file , lets code up the function that is utilised to the load the model onto the device .
import Foundation
import MediaPipeTasksGenAI


func initialise_llm()->LlmInference?{
    let modelPath = Bundle.main.path(forResource: "gemma-2b-it-cpu-int4",
                                          ofType: "bin")!

    let options = LlmInference.Options(modelPath: modelPath)
    options.modelPath = modelPath
    options.maxTokens = 1000
    options.topk = 40
    options.temperature = 0.8
    options.randomSeed = 101

    do {
        let llmInference = try LlmInference(options: options)
        return llmInference
    } catch {
        // Handle the error here
        print("An error occurred: \(error)")
        return nil // Or handle the error in an appropriate way
    }
}
Once you are done with the above , you can run the app , on your iphone or on the simulator , click on the build button on the left side as shown in the image .

Now wait till your app is built , it will take some time as it is loading a heavy model on to the memory . It may take more than 1.5 minutes or maybe even longer .
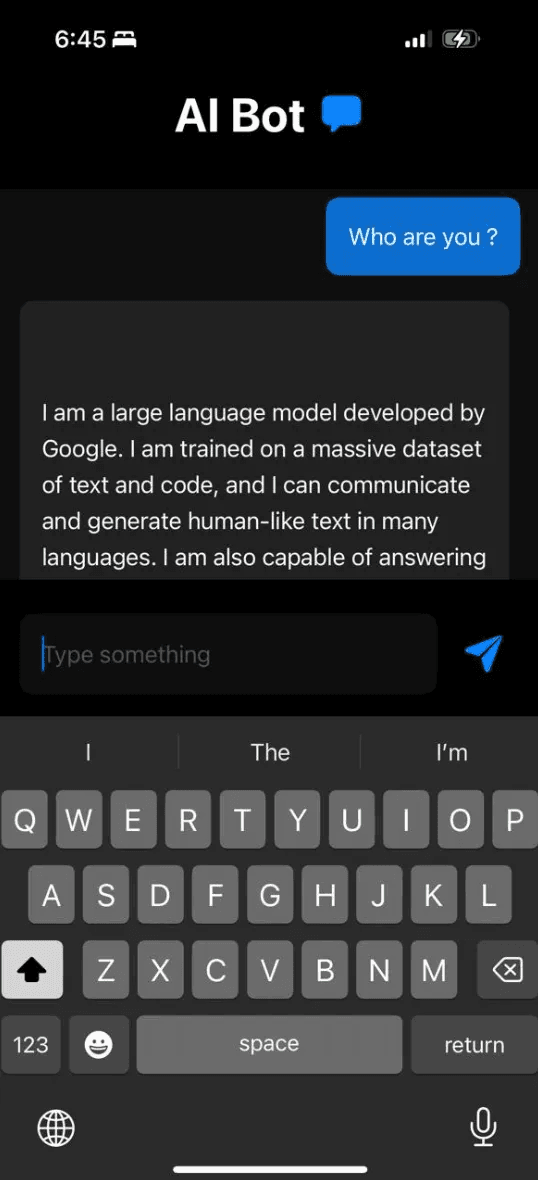
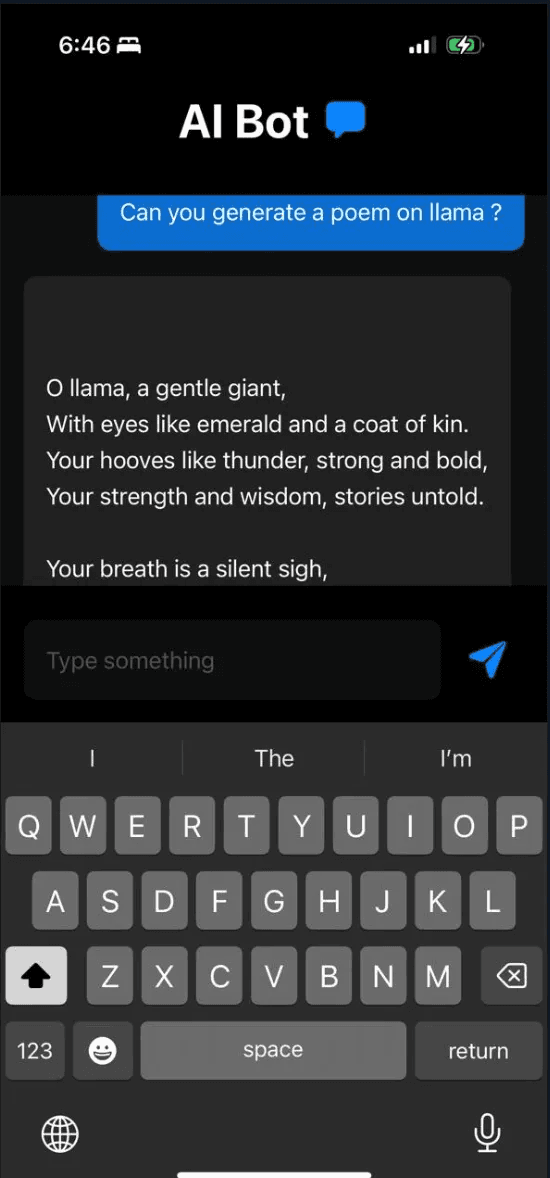
Sample Outputs :
Conclusion
On device AI can help us to extract value from our private documents . The above model is Gemma 2B , which has a size of around 1.2 GB and it does not utilise a huge amount of ram and works on an mobile phone , as our hardware gets more powerful , we an run even larger models on phone .
I will release a part 2 , where we will look into an RAG setup , till then stay tuned !
The 🤫 hussh magazine
Written by Omkar Malpure, and built to read beautifully here — and to travel to 🤫 One on your phone, your glasses, and visionOS, as one immersive magazine you own.